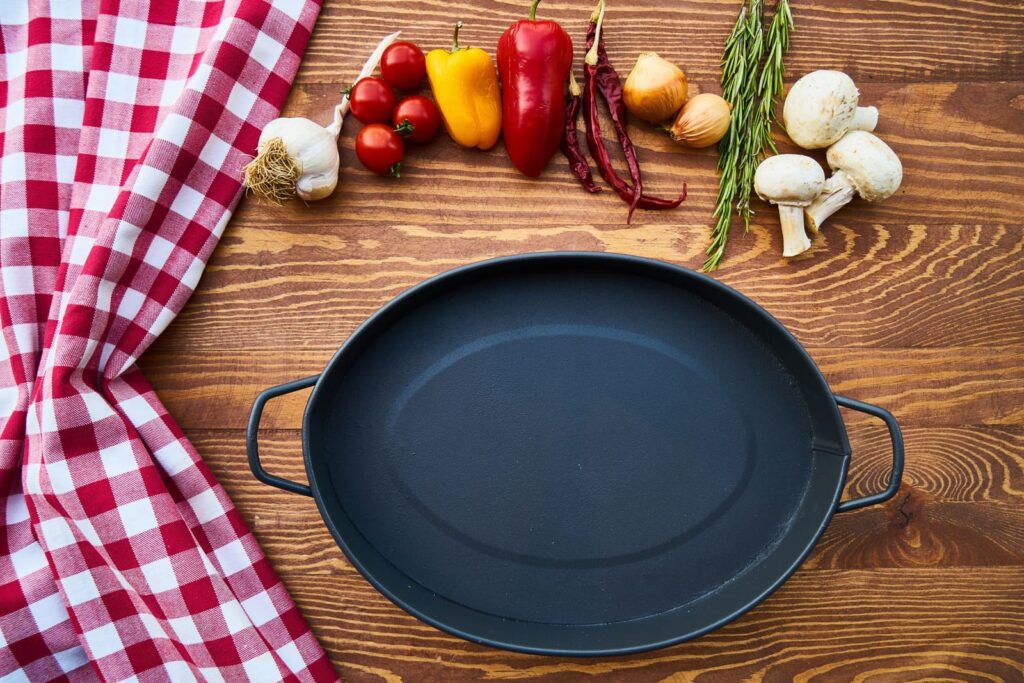
A well-seasoned cast iron pan is one of the few pieces of cookware that gets better the more you use it. It sears steak with a crust no thin pan can match, goes from stovetop to oven without a second thought, and can outlive the person who bought it. The secret to all of that is seasoning: a hard, slick coating that protects the iron from rust and keeps food from sticking. Here is what seasoning actually is, how to build it up from scratch, and how to keep it in good shape once you have it.
What seasoning actually is
Seasoning is not a layer of oil sitting on the pan. It is oil that has been heated past the point where it breaks down and bonds to the iron, a process called polymerization. When a thin film of fat is heated hot enough, its molecules link together into a hard, plastic-like coating that is chemically attached to the metal. Each round of seasoning adds another very thin layer, and over time those layers build into the smooth, dark, semi-glossy surface that makes cast iron naturally non-stick.
Two things follow from this. First, the layers need to be thin, because a thick coat of oil will not fully polymerize and will stay sticky. Second, the pan needs real heat, well above normal cooking temperatures, to make the reaction happen properly.
Do you need to season a new pan?
Most new cast iron sold today comes pre-seasoned from the factory, so you can cook in it right away. That factory seasoning is a good base but a fairly thin one. Many cooks like to add a few extra rounds before the first use, and any pan that has been stripped, scrubbed hard or neglected will need a full re-season.
You should re-season if you see any of these:
- Rust spots, or a dull, patchy orange or gray surface
- Food sticking in places where it used to release cleanly
- A sticky or tacky feel on the cooking surface
- Flaking black patches after a hard scrub
How to season cast iron in the oven, step by step
This method follows the process recommended by Lodge, one of the oldest cast iron makers in the United States, and it works for skillets, griddles and Dutch ovens alike.
- Clean the pan. Wash it in warm, soapy water and scrub away any food residue. If there is rust, scour it off with steel wool until you reach bare, gray metal. This is the one time aggressive scrubbing is exactly what you want.
- Dry it completely. Towel it off, then set it on a burner over low heat for a few minutes to drive off any remaining moisture. Water left in the pores of the iron is how rust starts.
- Preheat the oven. Lodge recommends 450 to 500°F (roughly 230 to 260°C).
- Apply a very thin layer of oil. Put a small amount of oil on a lint-free cloth or paper towel and rub it over every surface: the inside, the outside, the handle and the underside. Then take a clean towel and wipe it all off again, as if you had made a mistake. What remains is the right amount. The pan should look dry, not glossy or wet.
- Bake it upside down. Place the pan upside down on the middle rack so any excess oil drains away instead of pooling in the cooking surface. Put a sheet of aluminum foil on the rack below to catch drips.
- Bake for one hour.
- Let it cool in the oven. Turn the oven off and leave the pan inside until it is cool enough to handle. The slow cool helps the new layer set.
One round gives you a protected pan. Three to five rounds, repeated back to back, gives you a noticeably slicker, darker finish, and is worth the time if you are restoring an old, rusty skillet.
Which oil should you use?
You will find passionate arguments online about the perfect seasoning oil, but for most home cooks the answer is simple: use a neutral oil you already have. Lodge suggests vegetable oil, canola oil or melted shortening. These are inexpensive, widely available and polymerize well.
Flaxseed oil has a devoted following because it can produce a very hard, glassy finish, but many cooks report that it becomes brittle and flakes off over time, and it is expensive. Butter and extra virgin olive oil are poor choices for oven seasoning, since the milk solids in butter burn and olive oil tends to leave a softer, stickier layer. Save both for cooking.
The mistakes that ruin seasoning
- Too much oil. This is the most common error by far. Thick oil pools, turns gummy and leaves a sticky, uneven surface. When in doubt, wipe off more.
- Too little heat. An oven set to 350°F will leave the oil soft. Go hot enough for the fat to fully bond.
- Soaking the pan. Leaving cast iron in a sink of water overnight is the fastest route to rust.
- Air drying. Always dry by hand and ideally on a warm burner.
- Storing it damp or covered. Keep the pan somewhere dry, and if you stack pans, put a paper towel between them to absorb humidity.
Everyday care that keeps building seasoning
The best seasoning comes from cooking, not from the oven. Every time you cook with fat, you add a microscopic layer. A few habits keep that process working in your favor:
- Cook fatty foods early on. Bacon, shallow-fried potatoes, cornbread and seared meats are ideal for a new or freshly seasoned pan. Save delicate eggs and flaky fish until the surface is well established.
- Clean it while it is warm. Rinse under hot water and scrub with a brush or a pan scraper. For stuck-on bits, scour with coarse salt and a little water.
- Yes, you can use a little soap. The old rule against soap dates from a time when many soaps contained lye, which can strip seasoning. Modern dish soap used briefly will not remove properly polymerized seasoning. Lodge itself tells owners it is fine. What you should avoid is soaking and the dishwasher.
- Oil after drying. Once the pan is clean and dry, rub in a few drops of oil with a paper towel and heat it for a minute or two on the stove.
What about acidic foods?
Long-simmered acidic dishes like tomato sauce, wine braises and vinegar-heavy recipes can wear down seasoning and pick up a metallic taste, especially in a pan with only a thin coating. A short cook, such as deglazing with wine or finishing a dish with a squeeze of lemon, is fine. For hours-long tomato sauces, reach for enameled cast iron or stainless steel until your bare cast iron has built up a thick, durable layer.
How to fix a sticky pan
If your pan feels tacky after seasoning, it has too much oil that did not fully polymerize. The fix is easy: put it back in a hot oven at 450 to 500°F for another hour, with no extra oil. That extra heat is usually enough to finish the job. If the surface is thick, lumpy and uneven, scrub it back with steel wool and start over with thinner coats.
The bottom line
Seasoning cast iron is less about a special technique and more about two principles: thin layers and high heat. Clean the pan, dry it thoroughly, wipe on a whisper of neutral oil, bake it upside down at 450 to 500°F for an hour, and let it cool slowly. Then cook in it often. A pan treated this way will get slicker every year and will likely still be in the kitchen long after the rest of your cookware has been replaced.